Square Gateway
Square is a popular payment gateway for accepting donations in-person and online. This payment gateway allows you to connect GiveWP to your Square account to accept credit cards online with ease.
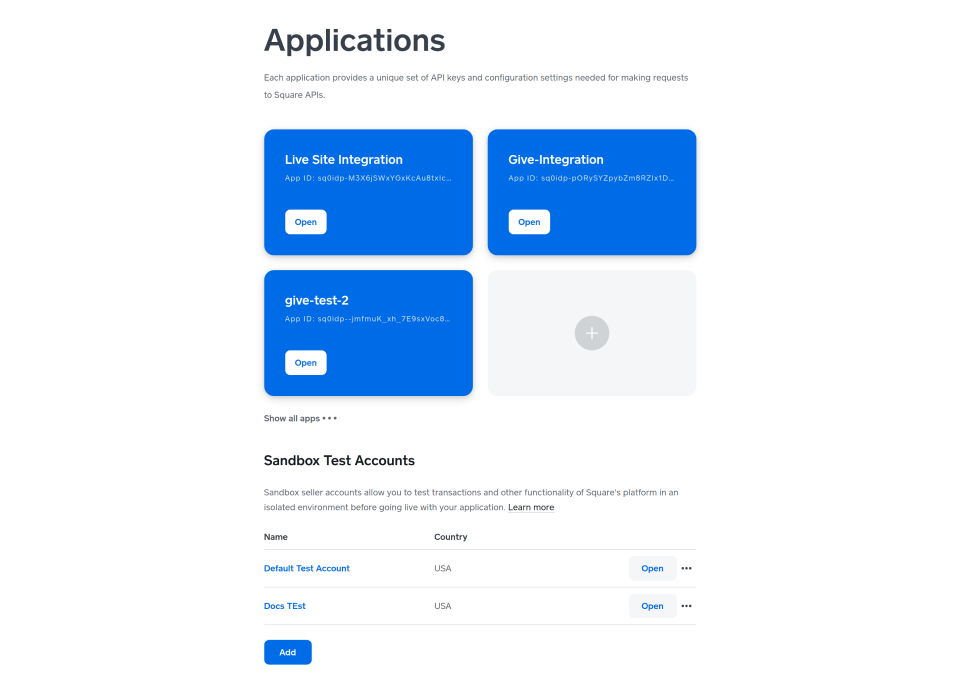
In order to accept donations with Square using GiveWP you will need to have an active Square account, the Square GiveWP Add-on, and the Core GiveWP plugin installed and activated.
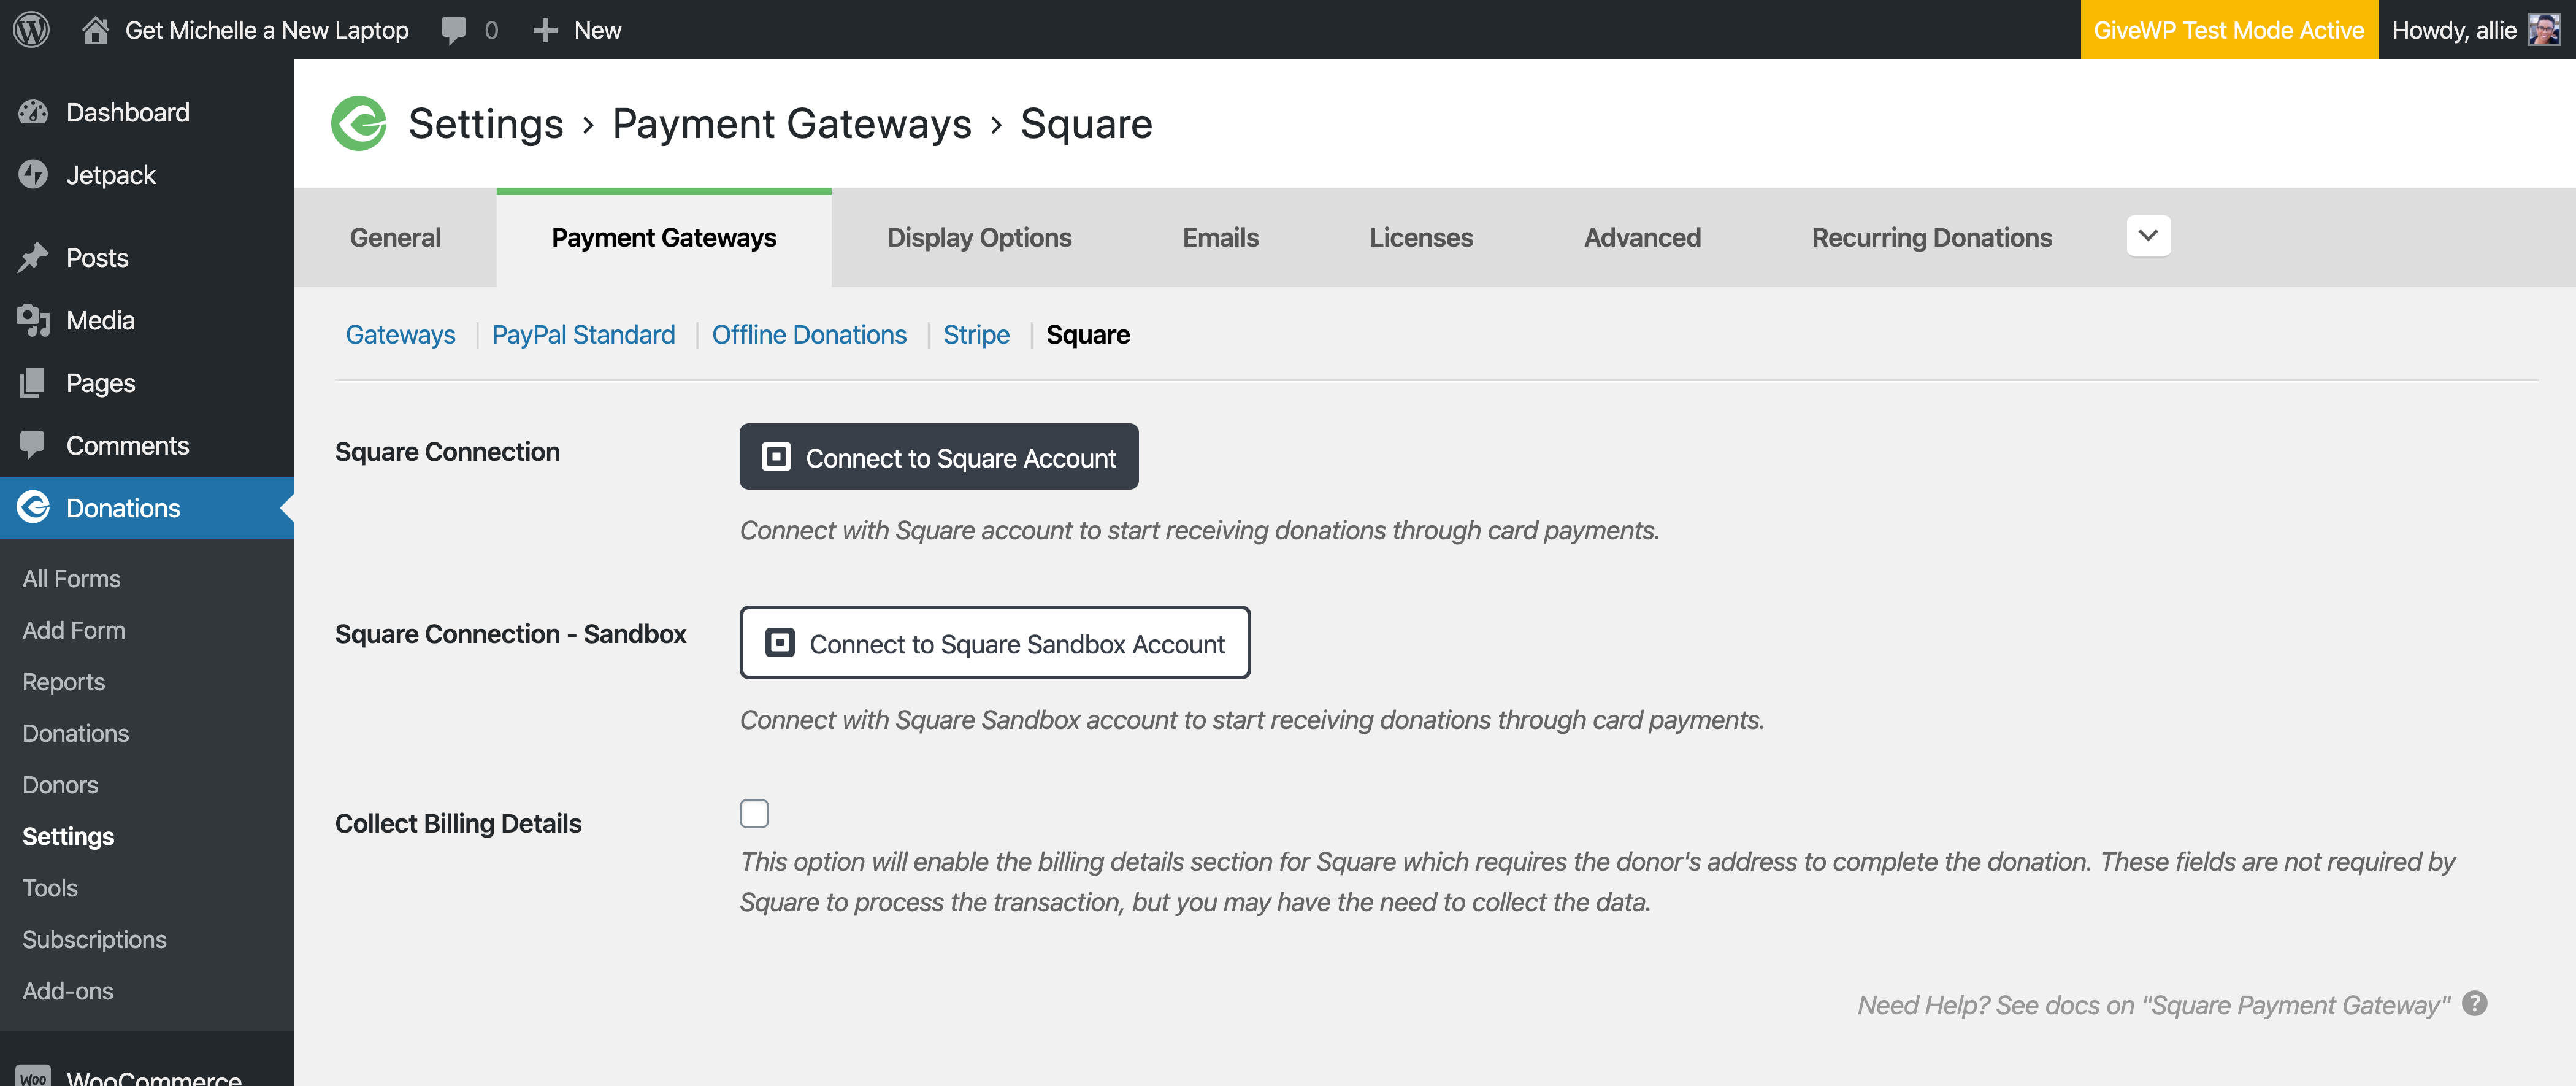
After your Square Add-on is activated, go to “Donations > Settings” and click on the Payment Gateways tab. There you will see the default Payment Gateways (PayPal Standard, Test Payment, and Offline Donations). You should also see Square as an option as well. Click on that menu item to set up Square as an active payment gateway.
If you would like to accept credit cards directly on your website with Square you will need an SSL certificate to secure transactions.
Connecting to Square
In order to begin accepting donations with Square you will first need to connect to the GiveWP Square application. This application allows your website to communicate with the Square API in a secure manner and is required in order to start accepting payments. This all happens automatically when you connect using the “Connect To Square method outlined in this section.
Once the plugin is activated you will see a notice display at the top of the Plugins listing screen in WP-admin:

If you’re not already connected you will also see a “Connect to Square” button displayed on the gateway’s settings page:
To connect, click the Connect to Square button. If you are not already logged into Square you will be prompted to login:

Once you’re logged into the account you would like to connect to GiveWP you will see a permissions page.
Click “Accept” to proceed:

After you click “Allow” you then be redirected back to your GiveWP’s Square Settings page within WP-admin. The gateway should now show you as connected.
Select a location you wish to associate donations on your website to:
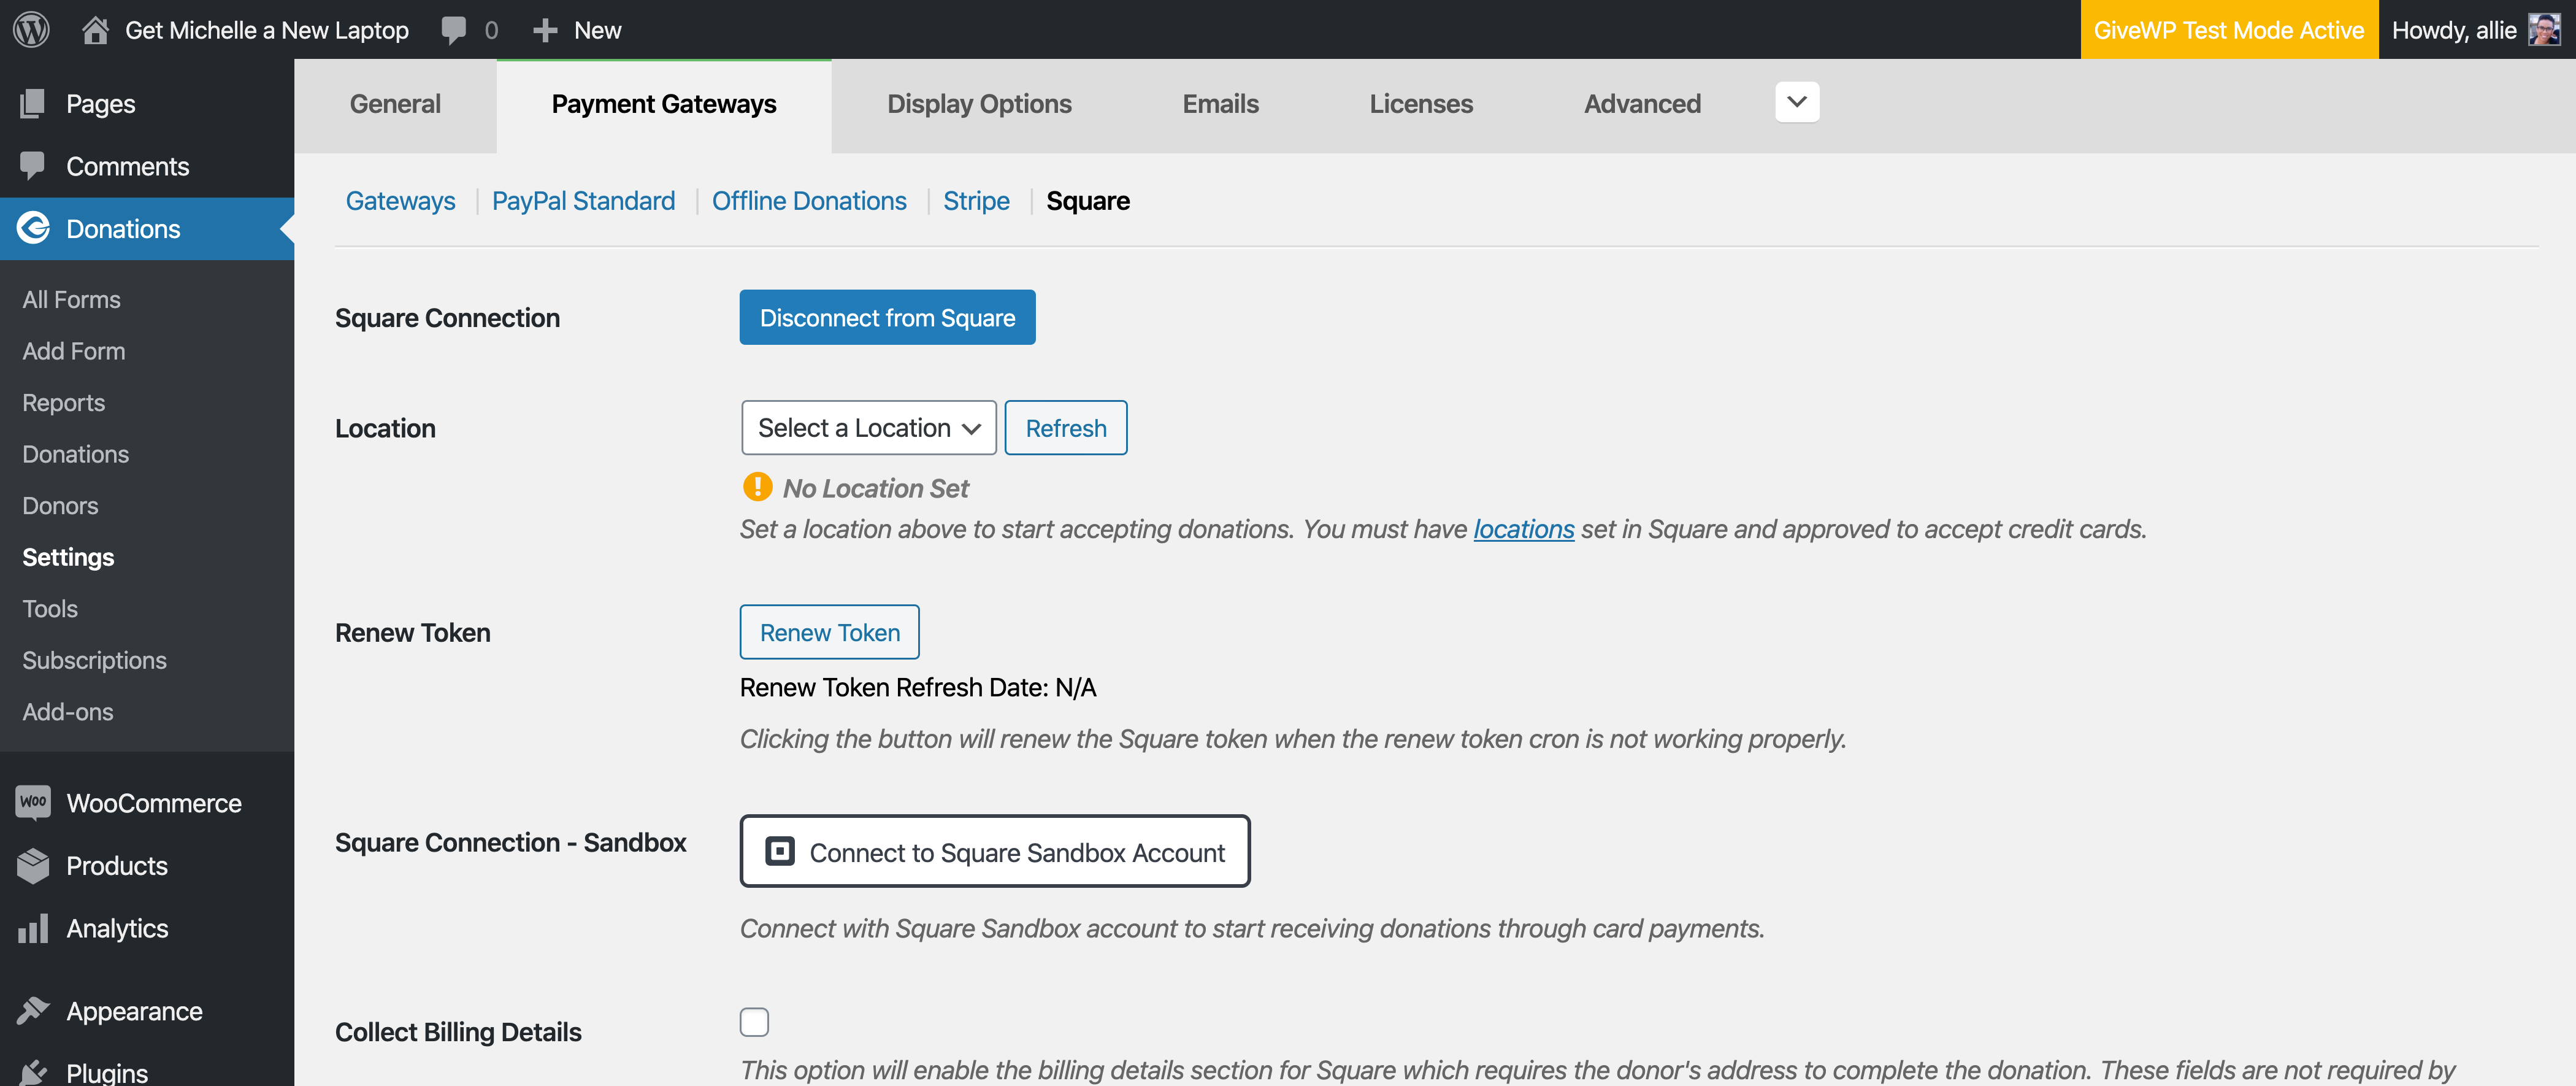
Now that your account is connected and you have the proper location set it’s time to enable the gateway under Settings > Payment Gateways > Enabled Gateways:

Note: the “Connect to Square” method uses what is called a “token” verify the identity of your site in order to process donations. When Square is connected to your website via the Connect to Square button, a new token is generated and added to your site. The token has a life of 30 days before it expires and renews automatically. When a new donation is made, this token is sent to the Square gateway along with the donation details, so the payment gateway can process a donation.
GiveWP automatically renews the token using a background process. If your site is having trouble staying connected to Square, it’s usually the result of the token expiring. See the FAQ below for steps to troubleshoot that issue.
Testing Your Square Integration
It’s recommended that you test your gateway integration before going live with your fundraising campaigns. Square has a sandbox version of their platform that you can connect and test with. To access this you will need to log into their development website which is separate from the live dashboard.
Connecting to Square’s Sandbox for Testing
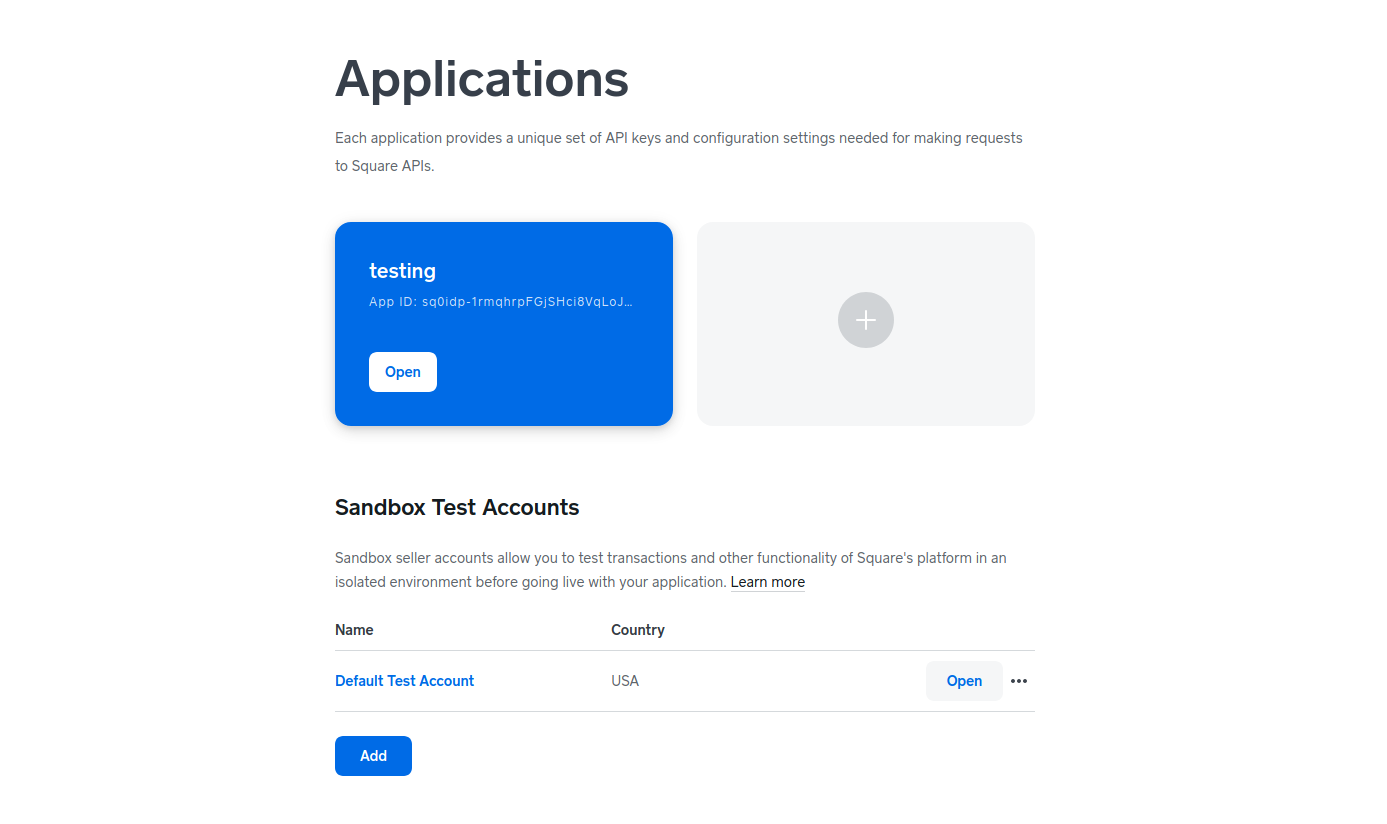
In order to connect to the Square Sandbox you will need to be logged into your Sandbox Test Account. To do this:
- Log in to: https://developer.squareup.com/apps
- Click “Open” next to a Sandbox Test Account
- Return to the Square settings in GiveWP and click “Connect to Square Sandbox Account”
- You will then be redirected and connected to your Square Sandbox Account from step 2.
Processing Refunds
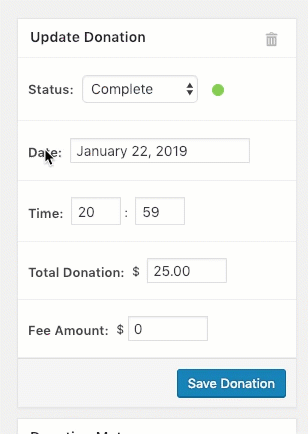
The Square integration with GiveWP allows you to process refunds directly on the Donation Details screen. To process a refund, change the donation status from “Complete” to “Refunded”. When you do this, you will see a new “Refund charge in Square” checkbox appear:
When you select this option the charge will be refunded at the payment gateway:

Note: If you refund a donation at Square you will have to update the donation’s status manually within GiveWP on your website.
Renewing Your Square Token Manually
If you’re not visiting the Payment Gateway Settings page often, you may not notice that the token is expired or that your donations are being marked as pending. A quick solution for that is to renew the token manually.
To renew the token manually, navigate to Donations > Settings > Payment Gateways > Square and click on Renew Token (if you are in Sandbox mode, it will be called Renew Token – Sandbox).

Connecting to Square with API keys
In addition to the “Connect to Square” button, you can also use the Square API to connect Square to your website directly. Some users find this to be useful if Square disconnects for any reason.
The first thing to do in order to connect to the Square API is to go to Donations > Settings > Advanced > Square and enable the API. Save your changes at the bottom.
Creating the App
Go to https://developer.squareup.com/apps and click Create Your First Application.
Use “GiveWP Integration” or something similar as the name. You may want to use the name of your business or the name of the form. Whatever will be most helpful. Agree to the terms and click “Create Application”. Square will go ahead and create your app!

The following page will contain your keys for both testing and production.
Transactions can not go through if there is no Location ID set in the settings.
You can get your Location ID by logging into Square and then navigating to https://squareup.com/dashboard/apps/my-apps
From there, click Manage App for the app you are using, and then on the next page, make sure you are using the production settings, and click Location.

Adding Sandbox Keys
In a new tab, open up your WordPress site, and go to Donations > Settings > Advanced > Square. On that page, enable the Square API Keys.
From there, go to Payment Gateways > Square Settings.
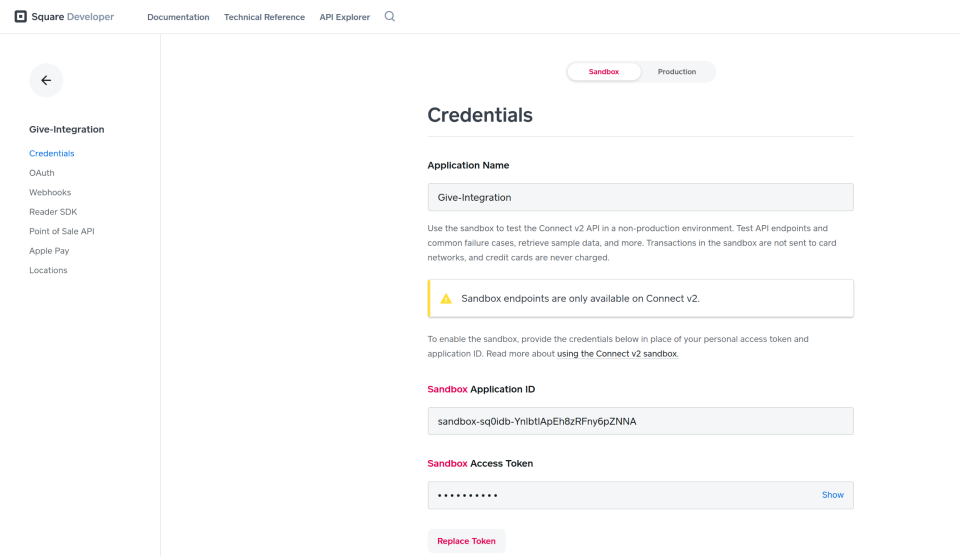
Copy and paste the Sandbox Application ID and Sandbox Access Token from your Square page to the corresponding fields on the GiveWP Square settings page, as well as the location ID you got from the previous step.
Adding Production Keys
Now we do the same things, but with the production keys. In your Square screen, toggle orange Sandbox Settings to Production Settings. The keys will change.
Take the Application ID and Personal Access Token from your Square page and copy/paste them to your GiveWP Square settings page – specifically the Live Application ID and Live Access Token fields.
If you see an error that says “Request not authorized” on your donation form, make sure you’ve gone to squareup.com/activate and finished setting up your account.
Some settings for Square are located in the Advanced tab at Donations > Settings > Advanced > Square. This section covers those settings and options.
Advanced Settings Options overview
Square API Keys
Settings Type: Radio buttons
Options: Enabled | Disabled
Default: Disabled
This setting is intended for when you’d like to use your own API keys taken directly from Square, instead of the blue Square Connect button from the Payment Gateways tab.
Square Styles
Settings Type: Text Area
Default Content: {}
Use these areas to add custom JSON for various Square elements on your websites, such as color, font and more, in order to match the look and feel of your WordPress theme.
Common Questions
The following section provides helpful troubleshooting information should you experience trouble with the add-on or integration.
Yes, the Square add-on supports recurring donations. You can read more about Square + Recurring here.
The API method of connecting does not use a token, so it does not require renewing that token, and therefore does not rely on the cron at all. Use the API method (outlined above) to resolve your issues.
For a more technical explanation:
In the error logs on your site at Donations > Tools > Logs > Payment Errors you may notice log entries that indicate Square is not connected correctly. Here’s how to fix that.
The way Square’s API works, it uses what is called a “token” to prevent having to send API credentials in every transaction, as a security method. That token is proof that the site should be able to access Square to process transactions.
The token expires every 30 days, so it has to be renewed before that.
GiveWP’s Square integration automatically renews the token every two weeks using what is called a WordPress cron, which is triggered automatically. In some rare cases, something is preventing that cron from firing, which causes the token to expire. There is no indication on the Square settings for when it becomes disconnected, but the transactions will stop going through, because Square no longer “trusts” the site.
The only solution at that point is to disconnect and reconnect Square, and then figure out what is preventing the cron from firing.
There are various tools in the official plugin directory for WordPress that allow for viewing and manually triggering the cron. The most popular is a plugin called wp-crontrol https://wordpress.org/plugins/wp-crontrol/ to be able to see the status of all the crons your site is using.
Also, caching can cause problems with wp-cron, so be sure to review the document on caching.


